Nail inspo & press-on tutorials, daily
Your go-to guide for nail shapes, at-home extension tutorials, and care tips that keep your set looking salon-fresh.

Hi, I'm Nikki Parkerz — the hands behind NailzExtensions
I'm not a nail tech, just someone who got a little obsessed with press-ons after one too many salon appointments I couldn't afford. NailzExtensions started as notes-to-self on what actually worked — the shapes that didn't chip in a day, the glue that didn't ruin my nails, the tricks nobody tells you as a beginner. Now I share all of it here, in plain language, for anyone starting exactly where I did.
Where do you want to start?
Three little corners of the site, all about giving your nails their best days yet.
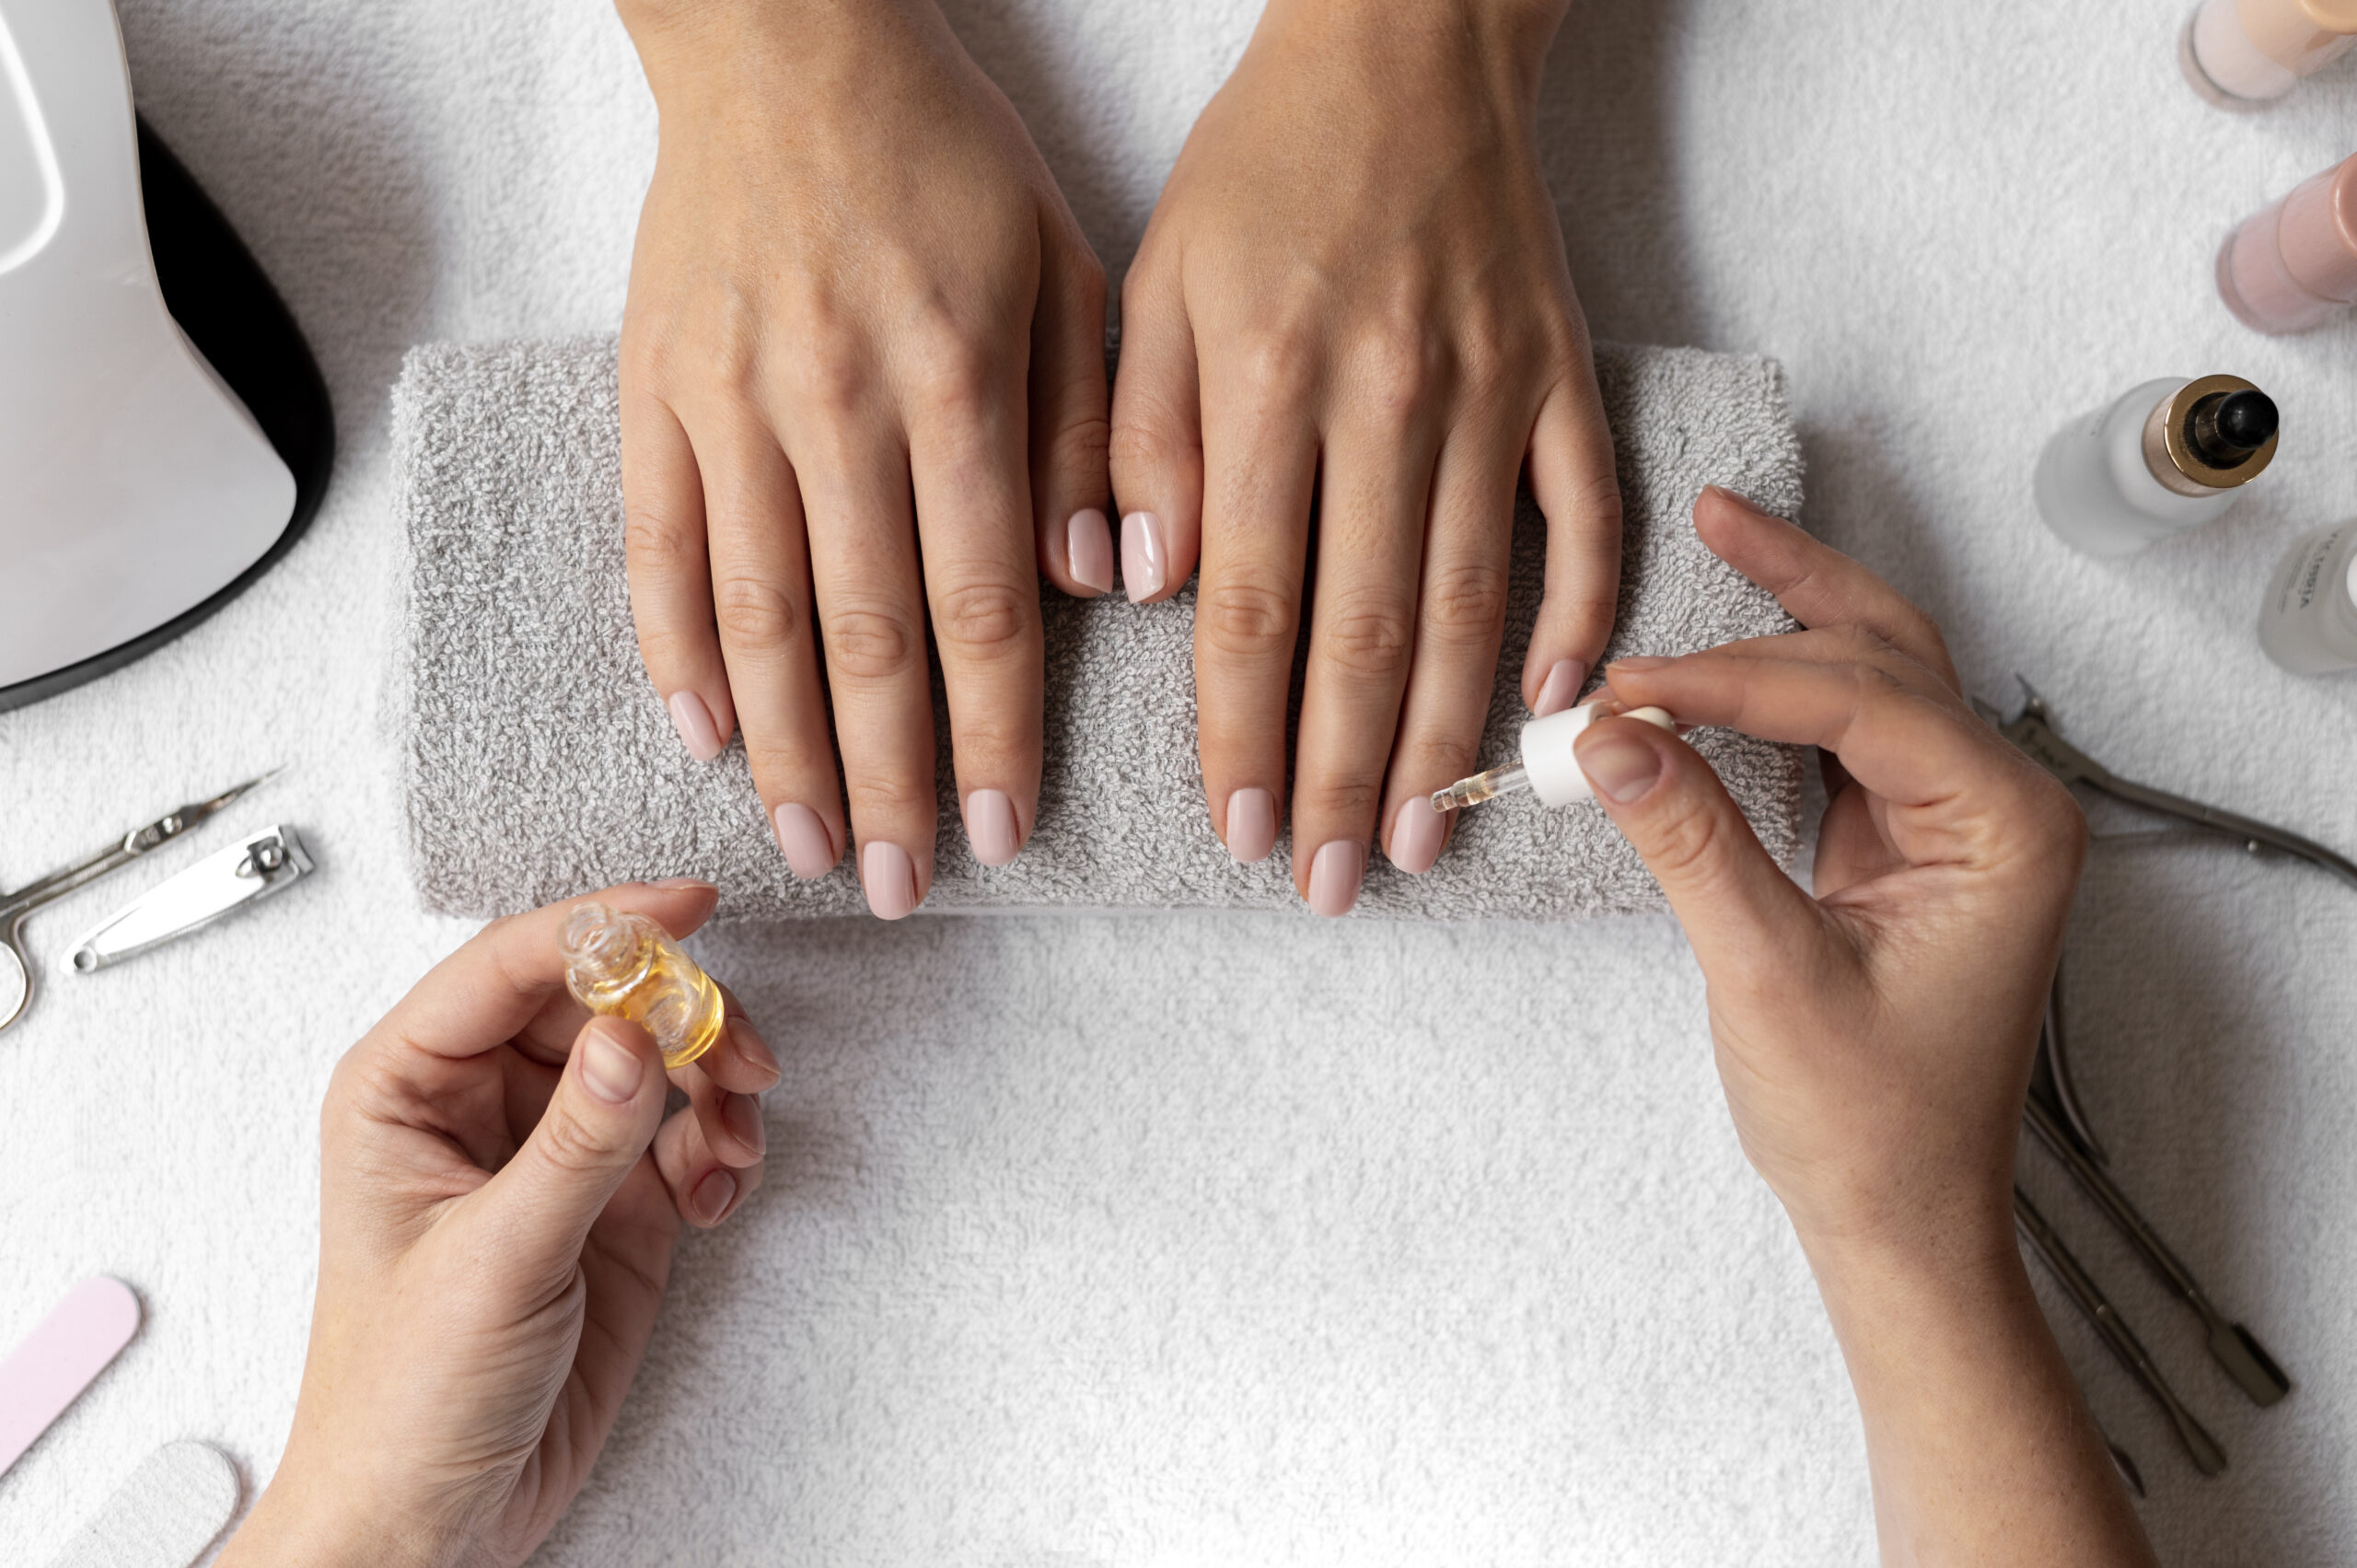
Strengthening routines, breakage fixes and the little habits that keep nails healthy between manis.
See the guides
Almond, coffin, square or short & sweet — find the shape that actually suits your hands.
Find your shape
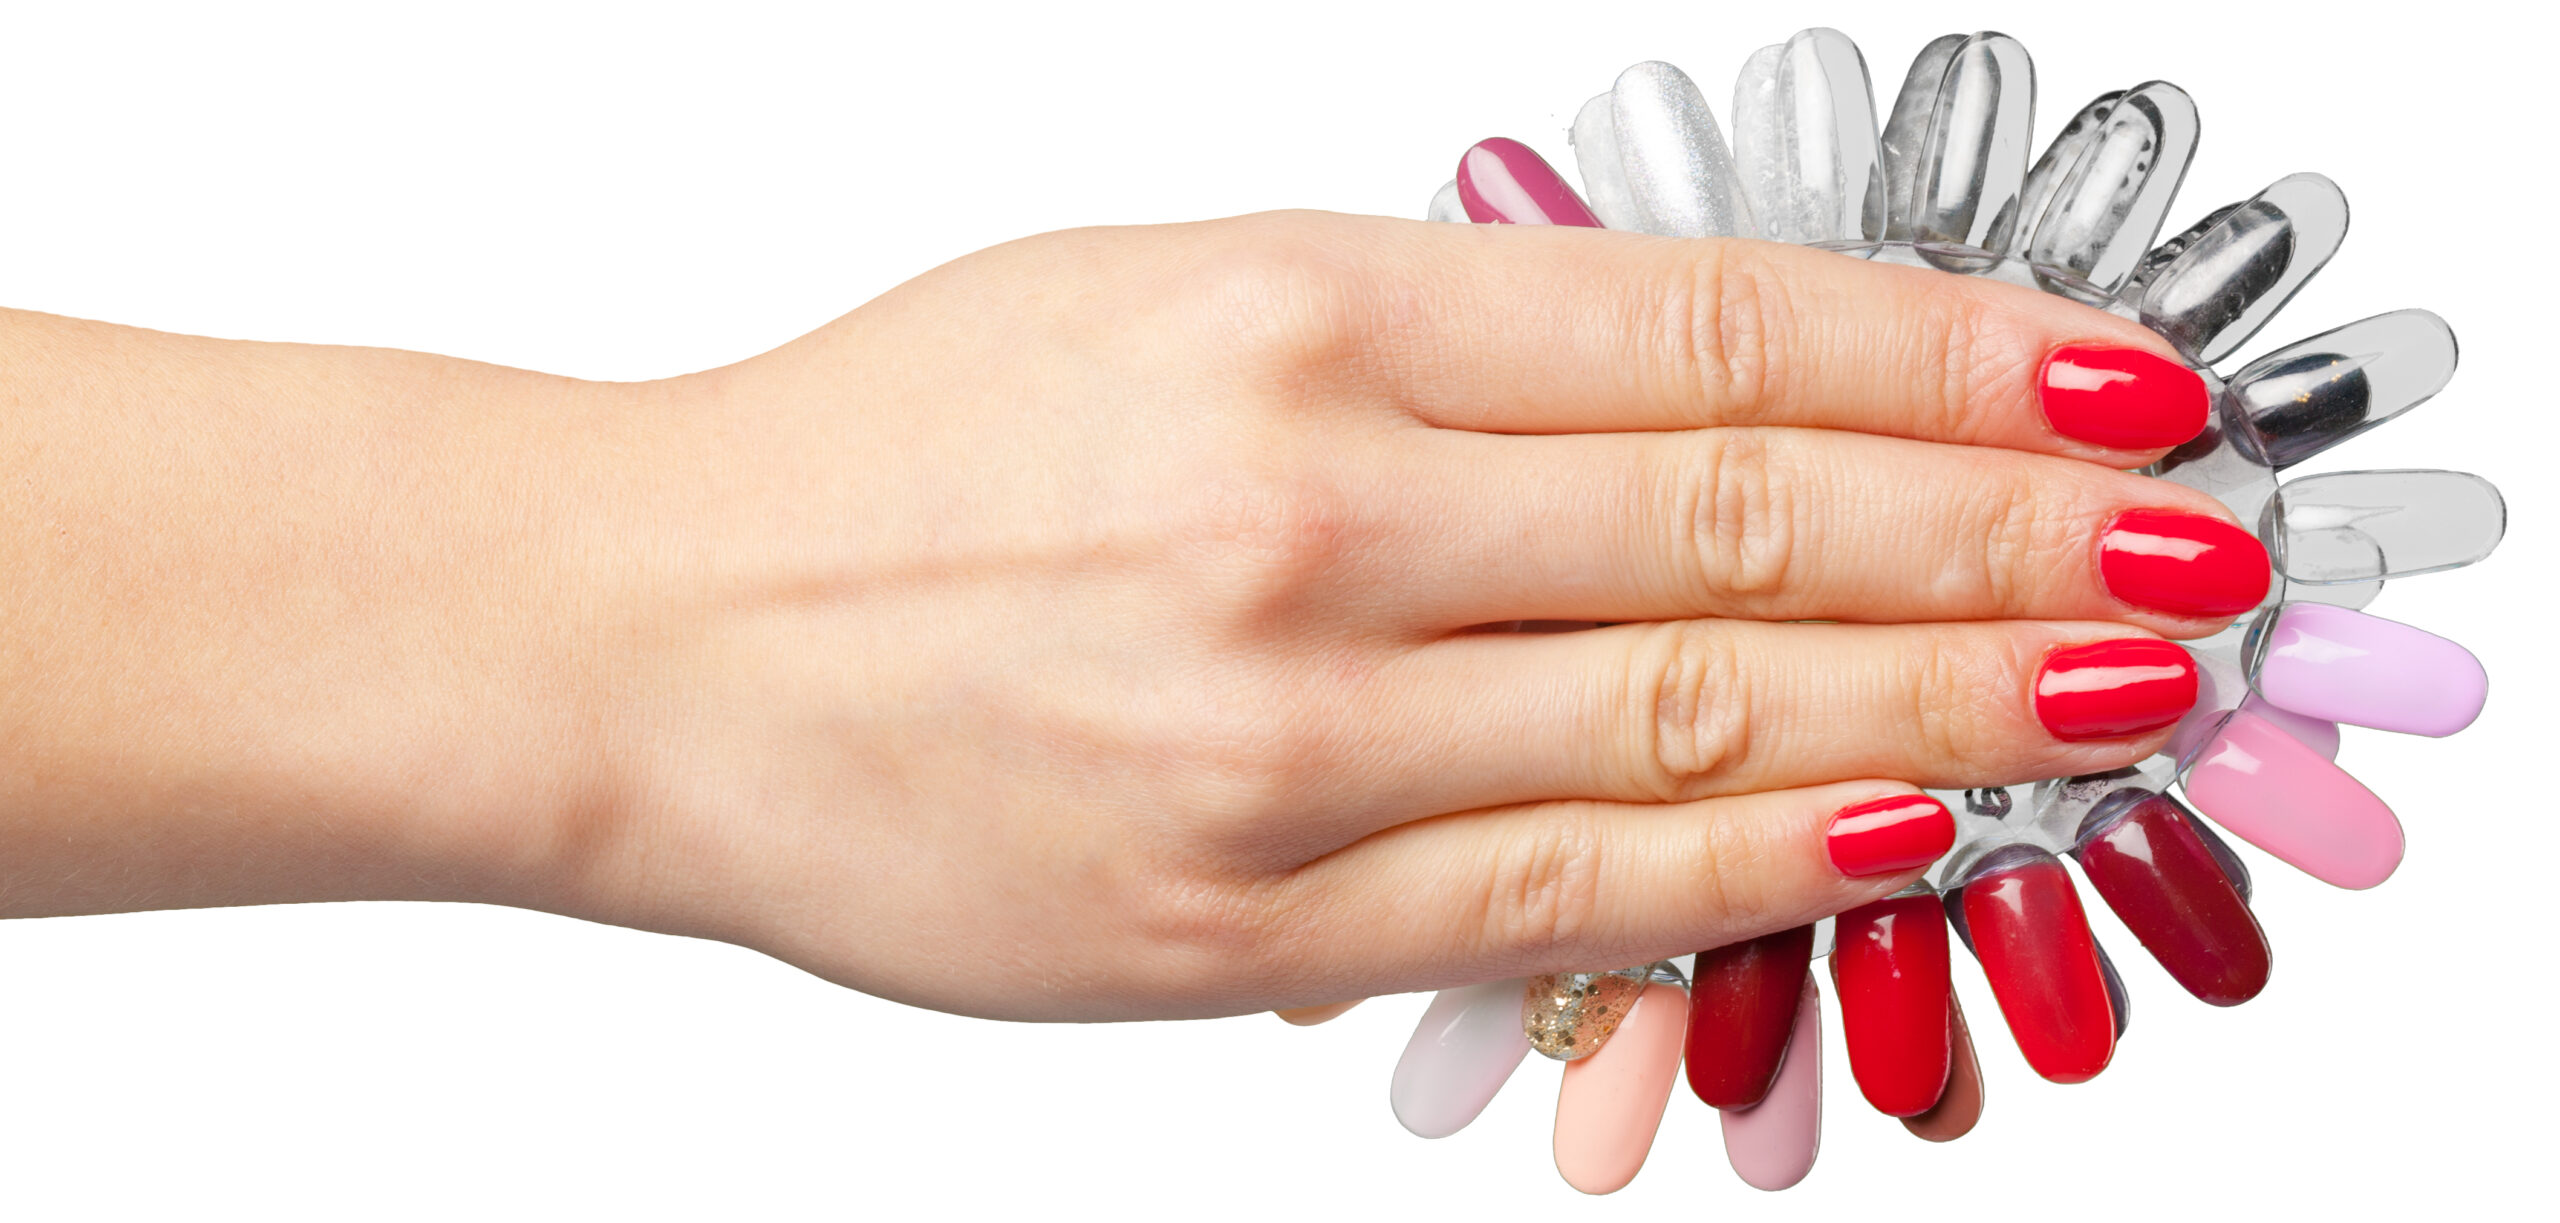
Salon-look extensions you apply yourself — application tips, removal, and long-wear tricks.
Start your DIY setGot a nail question?
Product mix-ups, shape dilemmas, or something you want us to cover next — send it over, we read every email.
Email info@nailzextensions.comPress-On Nail Extensions That Hold Up to Real Life, Not Just Photos
Salon-quality nails without the salon chair. Here's what actually makes a set of press-on nail extensions hold up in real life — not just how they look in a photo.
- ✓Tested for real-life wear, not just lightbox photos
- ✓Reviewed against genuine, everyday hand use
- ✓Simple, at-home application — no salon appointment needed
Why NailzExtensions?
We started this site because we were tired of the same broken promise you see everywhere: press-on nail extensions that look perfect in a photo, then lift by day three. So we built something different — a small, honest resource that tests ideas against actual hands doing actual things: typing, dishwashing, gym days, the works.
If a nail extension method or product can't survive a real week, we don't recommend it here. That's the whole standard.
Design Your Own Set in the Shade & Shape Studio
Not sure which shade or finish is right for you? Try it on first — no nails damaged, no guesswork, and nothing to commit to until you're sure.
- Pick a collection — choose from curated palettes like Care Girl Nudes, Shape It Up Rose, or London Drizzle Chrome.
- Choose your color — go solid, blend a custom gradient, or build your own shade.
- Customize each nail — give your thumb, index, middle, ring, and pinky their own accent shade.
- Pick a finish — Glossy Shine, Matte Silk, Mirror Chrome, Jelly Sheer, Magnetic Velvet, or Glitter Dust.
- Save and share — export your look as a PNG or copy the shade codes.
How to Apply Your Nail Extensions in Minutes
No salon visit, no long wait — just four quick steps between you and a finished set.
- PrepPush back cuticles and lightly buff the natural nail.
- SizeMatch each press-on to your natural nail width.
- ApplyUse the included adhesive tab or glue, press firmly for 10–15 seconds.
- FinishFile edges to your preferred shape — done.
Our latest Pinterest finds
Pulled straight from our Pinterest account — new boards and pins show up here automatically.
Frequently Asked Questions
How long do press-on nail extensions last?
With proper application, press-on nail extensions typically last 1–2 weeks, and can be extended with careful removal and reapplication.
Are press-on nail extensions bad for your natural nails?
No, when applied and removed correctly, press-on nail extensions are a safer alternative to acrylics or gel extensions, since they don't require filing down the natural nail.
Can I reuse press-on nail extensions?
Yes, most sets can be reused 2–3 times with gentle removal and proper storage.